Bootstrapping a Jekyll Blog
I created my first blog back in 2005, when blogging felt
new and wonderful.
Every couple of weeks I would write about pretty much anything I had on my
mind in my online journal.
My audience was mostly family and friends, but writing has always been a great
way to organize one’s thoughts.
I had a good run, lasting until 2012, before abandoning blogging.
The website is still up on a Portuguese speaking corner of blogspot.com,
available for nostalgia trips.
Fast forward 14 years and the world has evolved quite a bit. The internet is not only for geeks anymore and has grown into a huge sprawl of online neighborhoods. Everything has become more professional, and to communicate online you need to have both a strong focus and a good understanding of the tools of the trade.
This is my first post on a new project, a development blog, where I can discuss technology and share cool new things I learn. It seems fitting that the first post in this blog is about bootstrapping, so here we go…
Choosing a blog platform
The first step was choosing where to host, as there’s a myriad of platforms to host your content. I considered a few key dimensions when making the choice:
- Target audience and the corner of the internet where they hang around
- Reliability and scalability are normally taken for granted, content should always up and safe from tampering, but guarantees are needed
- Ease of use and customization options depend a lot on the content type, but writing should be a frictionless experience nonetheless
- Cost and monetization options are important, even more so if you intend to generate revenue
My requirements are easy to define:
- I will be writing for a technical audience, so I’m looking for a friendly neighborhood for that type of content
- Beyond having guarantees that everything runs smoothly and securely, I also want the ability to understand and audit all the technical layers
- I’ll be sharing text and maybe some images, I don’t care about WYSIWYG tools and complex workflows, my aim is simplicity and understanding what’s happening behind the scenes
- Hosting needs to be affordable, specially considering I don’t have plans for monetization for the time being
The obvious choice is hosting on GitHub Pages, a feature that enables creating a website directly from a repository on GitHub. By default the content is rendered from markdown files into static HTML by Jekyll, but it’s possible to customize everything, including the publishing and templating engine. It’s also very simple to run the site generator locally, allowing for an quick start and easy preview of the final result.
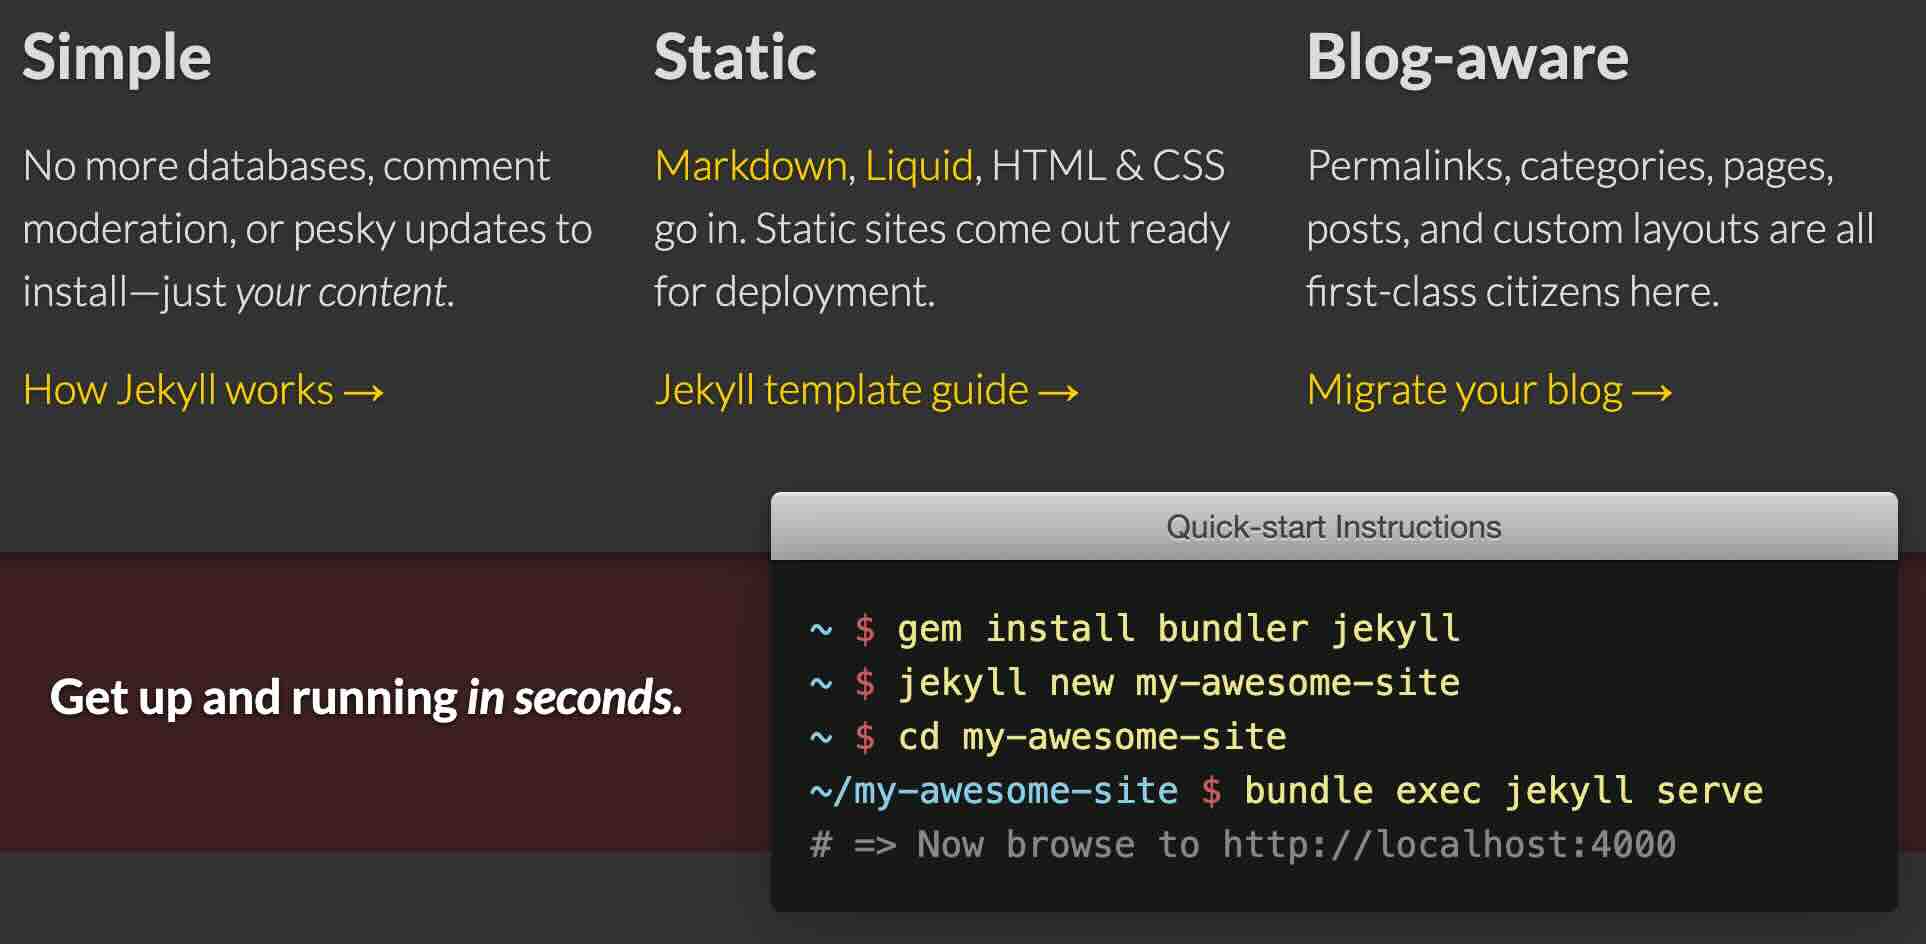
This solution covers all of my requirements, plus it provides a neat separation between data (markdown text) and presentation (the generated website). If I decide to add an extra layer of polish or a new beautiful layout I’ll just need to tweak the theme being used, the text will be rendered using the new configuration and I’ll have control over the whole process.
In the following paragraphs I proceed to explain how I put everything together. This post provides a lot of references and links to necessary information, however it is assumed you have a working understanding of the base technologies and tools being used. If you have trouble getting started I suggest you take a look at the How do I use GitHub Pages? article in MDN (Mozilla Developer Network), a great resource to learn about web technology.
Hosting Lorem Ipsum
The actual first step was securing a hostname for the website, the repo would
be named after it. After shopping around in different
registrars
I chose porkbun, probably not the most well-known,
but it seemed perfect for a small personal project.
It has the features I needed: transparent pricing, essential features like
WHOIS privacy and SSL are free, and the UI is clean and simple. They also
offer .dev domains, exactly what I was looking for.
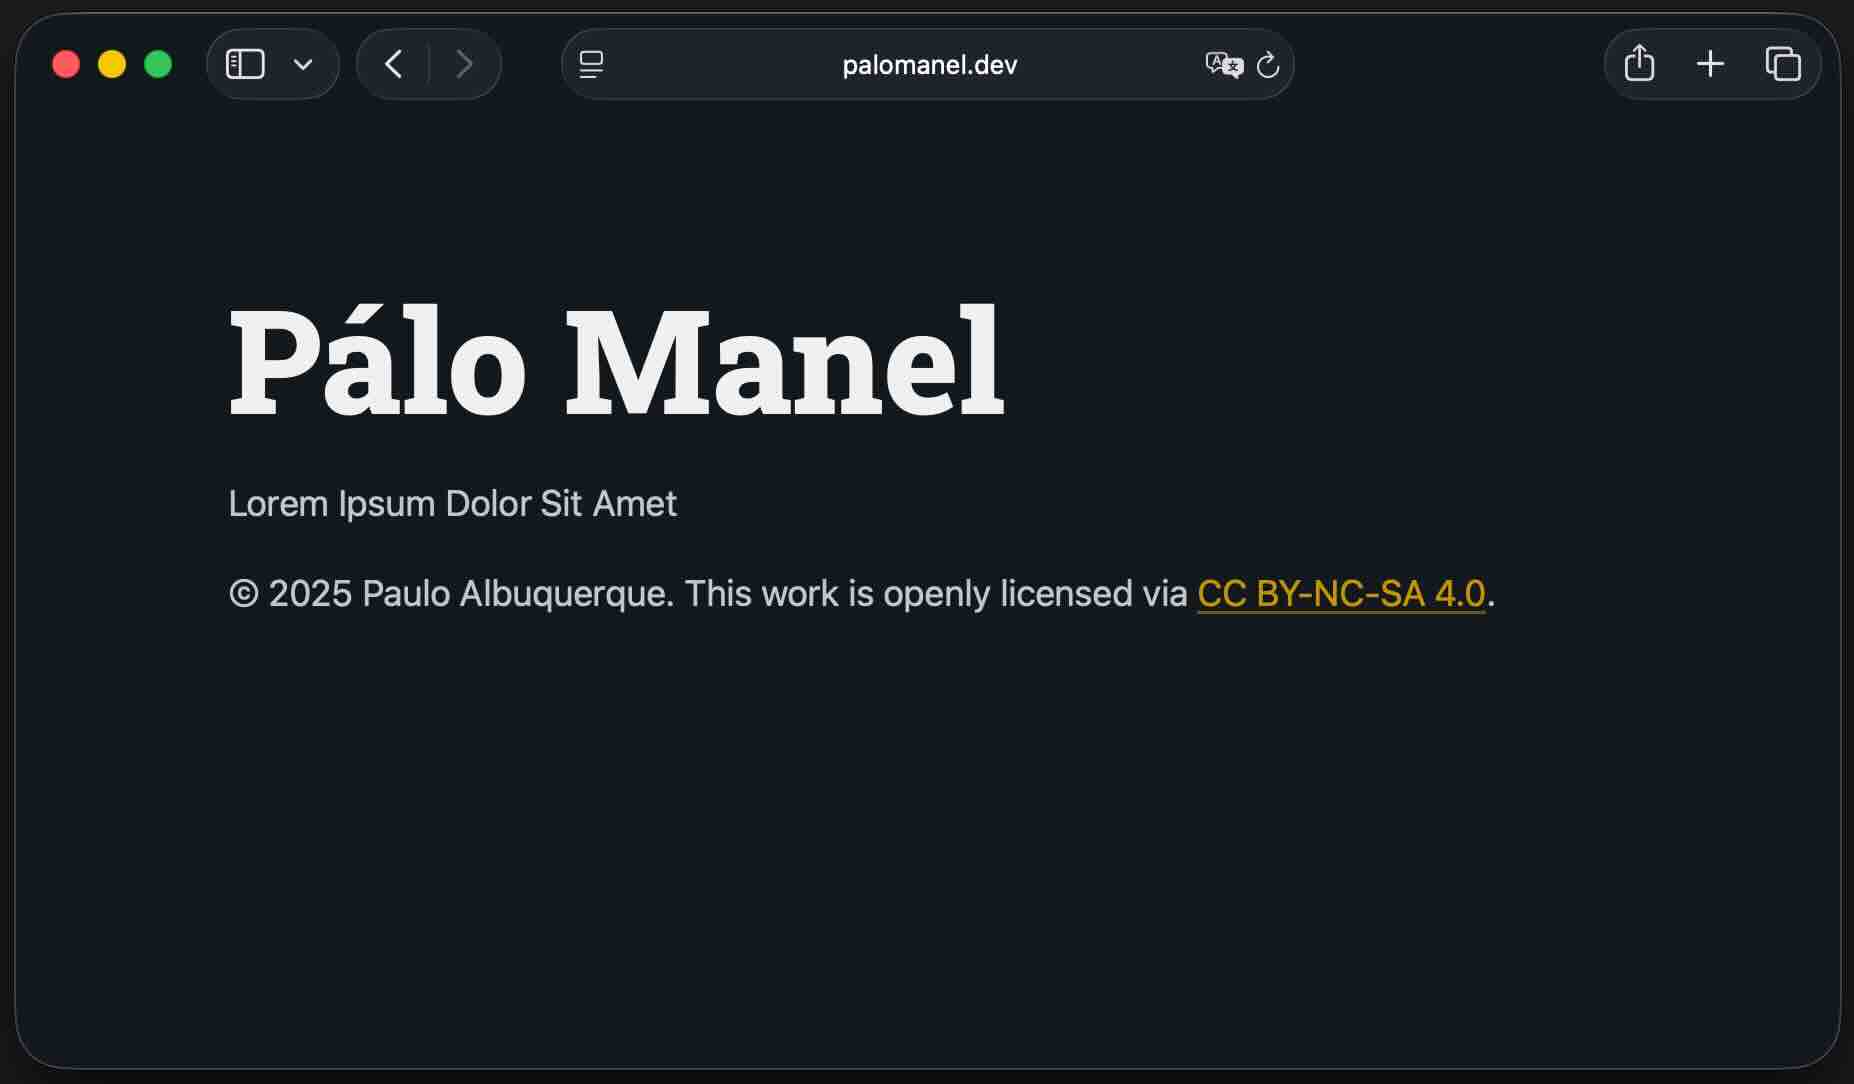
Once I purchased my hostname the next step was rendering
Lorem Ipsum
on the new website. After
creating a new repository
I put together a site skeleton using the
Quick Jekyll theme.
I separated the Jekyll source files into a source folder,
I prefer to have a clean and tidy top level folder, it avoids confusion and allows
triggering workflows only when needed.
Let’s have a look at the initial commit:
.github/workflows/jekyll-gh-pages.ymlis the workflow that will render markdown into HTML, this is optional as after configuring a publishing source for GitHub pages site the rendering will happen automatically, but I wanted the extra visibility so I picked up the file from the very useful starter-workflows repo, and just made sure Jejyll would pick up the files on thesourcefolder.LICENSE.mdis the standard location for a repo’s license, adding a license to a repository is always a good idea, as it protects you and provides clarity for others on how to use and contribute to your project.README.mdis a key document in source repositories, especially on code hosting services where it is normally displayed as the repo’s homepage. It introduces the project, explains its purpose, setup, and usage, and helps users and developers find their way around. Always make a readme!source/CNAMEis added after configuring a custom domain for your GitHub Pages site and holds your custom domain name, More on that in a couple of lines. In case you’re wondering why this is part of the initial commit… I cheated! I squashed the GitHub-generated commit with my first commit to be able to reference a single commit.source/_config.ymlholds the configuration for Jekyll and whatever template is being used, beyond the boilerplate the key statement isremote_theme: devich/quick@0.0.1which instructs Jekyll to use a remote theme.source/index.mdholds the actual content to be rendered, and is intentionally very simple.
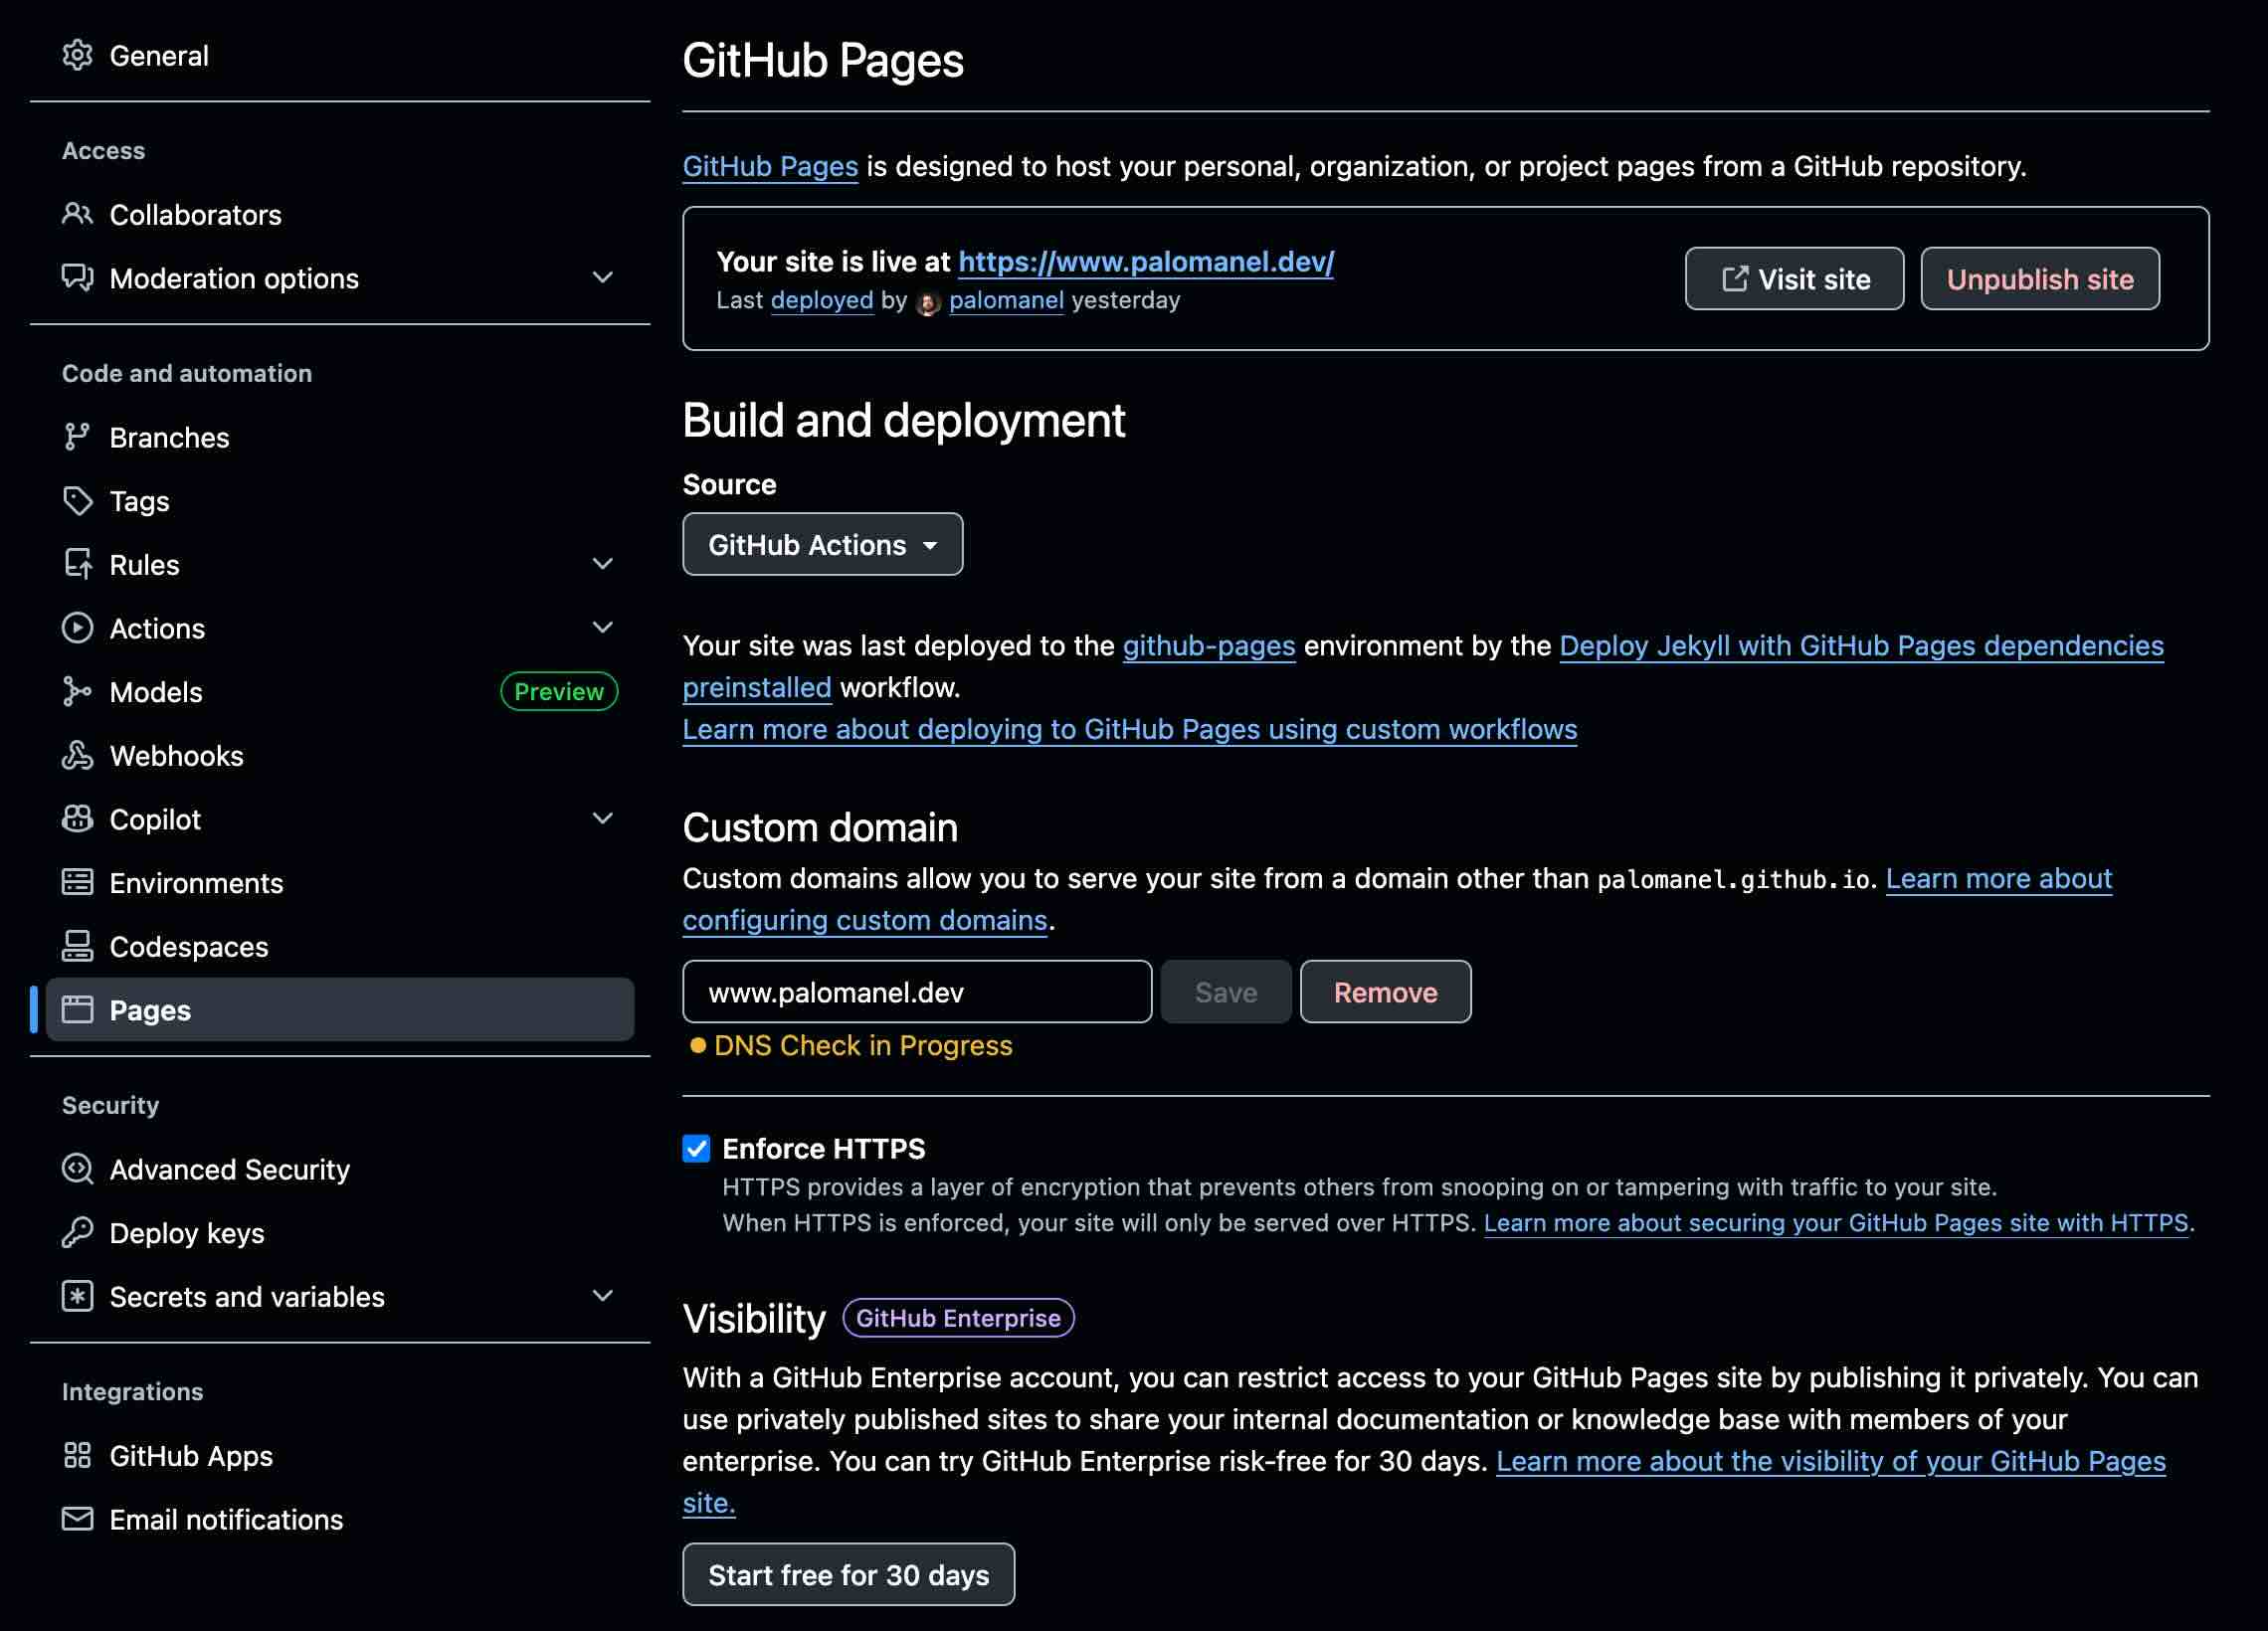
In the repo’s GitHub Pages configuration I chose GitHub Actions as the
Source for Build and deployment ensuring the whole process is managed
by jekyll-gh-pages.yml.
After committing the code, the GitHub workflow runs and the site is rendered and
published, making it available from the GitHub pages personal domain, something
like username.github.io.
For the next step I really recommend going through configuring a custom domain for your GitHub Pages site to understand everything. Here’s a high level breakdown:
- The Custom Domain needs to be added in the the repo’s GitHub Pages configuration. GitHub will instruct you to add a TXT record to the domain’s DNS to ensure ownership. Validation will take a few minutes at most.
- For the domain to resolve to the GitHub Pages location another DNS entry will be needed. It turns out that there’s a wizard to connect your porkbun domain to Github Pages , it was quite easy to create a CNAME record that makes my custom domain point to my GitHub user domain.
- The SSL certificate for the custom domain will be issued using
Let’s Encrypt, no extra work needed! That
TXTrecord that was added ensures the CSR challenge is met successfully.
Et voilà! Pointing a web browser to the custom domain name should display a new static website up and running!
Setting up the necessary tooling
Time to improve my development workflow, maybe pusblishing workflow is the more adequate term, and improve the project’s tooling a bit. The objective: submitting changes, creating new blog posts, and previewing the final output should be as simple and seamless as possible.
Any project should have a .gitignore file,
that specifies intentionally untracked files that should be ignored.
For instance, Jekyll by default will generate output into a _site folder in
the source tree, a .jekyll_cache will also be created, git will keep remind
us those files are not tracked. Adding this simple file eliminates a lot of
noise. The gitignore repo
is a collection of gitignore file templates, I picked up the Jekyll template
and added a couple of other files that appear often.
# Ignore Jekyll output
_site/
.sass-cache/
.jekyll-cache/
.jekyll-metadata
# Ignore folders generated by Bundler
.bundle/
vendor/
# Ignore system files
.DS_Store
Thumbs.db
I purposely separated the Jekyll source files into the source folder
so publishing workflow can run only when changes
are done to this folder. Additionally it’s a good idea to also run the
workflow when the workflow definition itself changes. This requires a
simple tweak to the on clause in jekyll-gh-pages.yml.
on:
  # Runs on pushes targeting `main` branch and the specified paths
  push:
    branches:
      - 'main'
    paths:
      - 'source/**'
      - '.github/workflows/jekyll-gh-pages.yml'
To avoid polluting my local environment, and to better handle different package versions I decided to use Jekyll from inside a container. I’m a big fan of Development Containers and Visual Studio Code has great support for them, you just need to install the Dev Containers extension and you’re ready to start developing inside a container.
After you have the extension bring up the VS Code command palette and
type Dev Containers for a full list of commands.
Choosing Dev Containers: Add Development Container Configuration Files…
will let you choose from a list of predefined templates, and there’s one for Jekyll!
That gave me a great starting point, just had to make a couple of changes:
added a few VS Code extensions and added a postStartCommand so that the Jekyll
preview was available immediately upon opening the project.
{
  "name": "Jekyll",

  // Or use a Dockerfile or Docker Compose file. More info: https://containers.dev/guide/dockerfilehass
  "image": "mcr.microsoft.com/devcontainers/jekyll:2-bullseye",

  // Use 'postStartCommand' to run commands after the container starts.
  "postStartCommand": "cd ${containerWorkspaceFolder}/source && jekyll clean && jekyll serve --livereload",

  // Configure tool-specific properties.
  "customizations": {
    "vscode": {
      "extensions": [
        "GitHub.copilot",
        "GitHub.copilot-chat",
        "GitHub.vscode-github-actions"
      ]
    }
  }
}
Check the feat: tooling improvements commit on the repo to see all the changes I made at this stage.
The first blog entry
I understood very early on that my initial approach with
the Quick template was a dead-end. So before actually starting to
write my first blog post I recreated everything inside source
with jekyll new. I had to review _config.yml to make sure
it had the necessary entries for the minima,
the default Jekyll theme. And I was set!
The theme is blog aware so I didn’t really need to
make any changes to the layout. It’s not perfect but it will do for now.
Then came the actual writing… As I was using my devcontainer I was
able to see the changes immediately on my local environment, providing
a very interactive experience.
The only thing to consider is that jekyll needs to be restarted every time
_config.yml is changed. Using jekyll serve --livereload any changes
to the source markdown are detected, and everything is rendered.
The browser even refreshes automatically with the --livereload option.
Closing thoughts
I’m pretty happy with my current setup, although I already have some ideas for improvement. Hopefully the lengthy post will be useful for others to understand what’s under the hood. If you would like to leave any comments or point out any mistakes or problems, please feel free to submit an issue!